I made a small, wooden box using finger joints to store my resistors used for electronics projects.

I’ve been hoping to practice using box joints for quite a while. My sanding accident back at the end of 2019 was in trying to make a box joint jig for the table saw sled. When I finally did make that, the results weren’t great. So I decided to purchase a commercial box joint jig for a router table from Rockler. After a quick test, I also purchased some longer, straight cut bits.

The first step was to use my (new!) table saw to cut the 1/2†plywood pieces. I also cut the slot in each side to accommodate the 1/4†plywood bottom. I’m not sure this last step wasn’t a mistake in my order of operations, though. I ended up getting some really bad treat out from the router on that little strip of wood on two of the sides. I do think now that a spiral down-cut bit may also help with this.

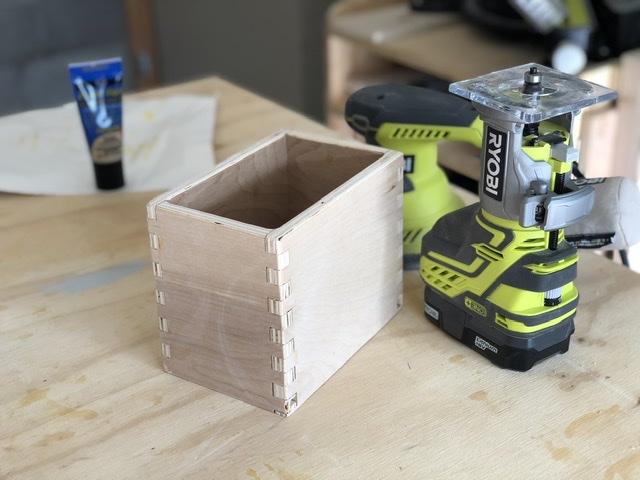
So, this box joint jig is intended for a router table. A router table, in brief is used to mount a router upside down below. This then allows you to bring the workpiece to the tool, rather than taking the router to the piece. This is essential in smaller pieces and for many jigs. Now, my router “table†is just a piece of 3/4†MDF scrap I clamp to my workbench. I can then clamp the jig to that. I used a few more scrap pieces to clamp the shop vac hose as dust extraction. I did several test cuts on some scrap to “dial in†the finger width to get a good fit.

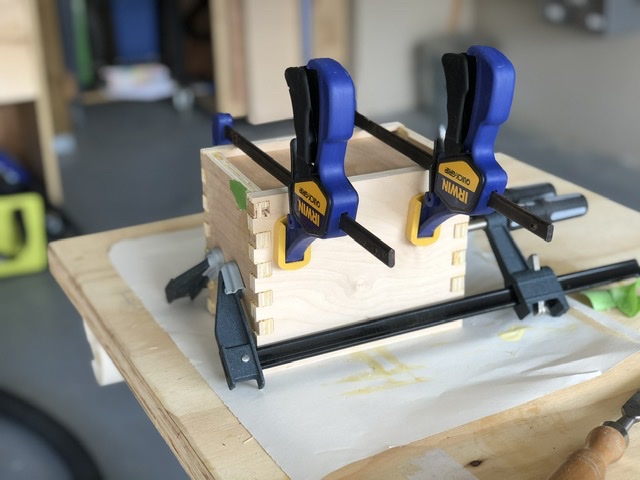
After the pieces were cut, I had some repair to do. While plywood is a great material, it’s not the best choice for this particular method of cutting box joints. There was a lot of tear-out. I was able to use some glue & sawdust to fix some of these before flying up the box. Glue up for box joints isn’t hard, but I could see if being difficult on a large piece with all those fingers. But it’s at least easy to keep things square.
Once the glue cured, it was time to sand down the fingers flush to the box faces. Here again, plywood isn’t very forgiving. The thin face veneer sands away quickly on the disc sander. Next it was time for wood filler. Those slots left 1/4†holes in each corner. And the plywood tear out had numerous gaps. So I went a little crazy with the wood filler. This then left me with another round of sanding. By this point, the birch veneer was completely gone in some spots around the fingers.
I used a 1/4†round over on all the edges and sanded it to a 220 finish. 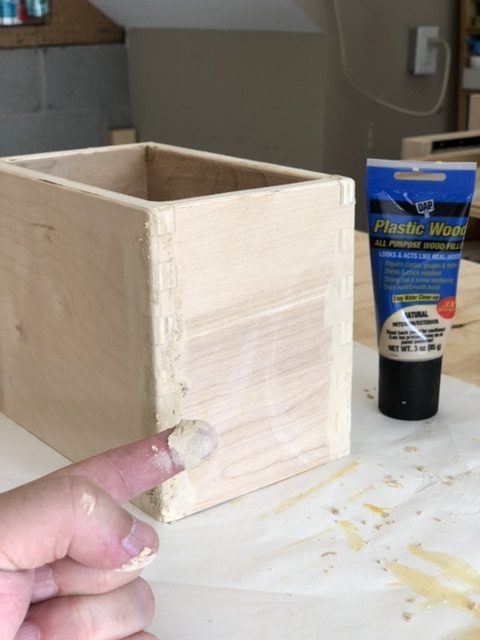
Lots and lots of wood filler. 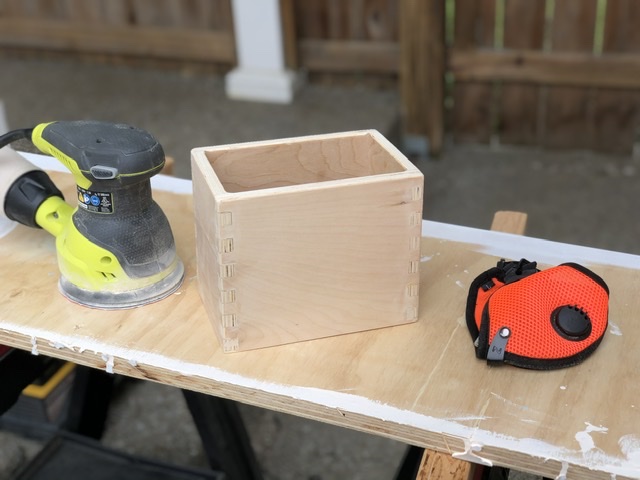
One downside of all that wood filler is that you get to do about twice the sanding.
Lastly, I used the Cricut to create some vinyl stencils for the large omega (the symbol used in electrical engineering for resistance). The stencil worked great, but the adhesive back ended up pulling off some small veneer fibers. So yet another drawback of plywood here. The final step was to use some wipe-on gel polyurethane finish. I think maybe doing the stencil between two layers of finish would have helped prevent the fibers lifting.
One of the reasons to make this is that it’s not a show piece. This is just something to replace the cardboard box I had used for a couple of years to store resistors. That way I can learn and practice with no pressure. I definitely did learn a lot and I’m not even disappointed in the final result, despite the flaws.