Fine woodworking! Well, my woodworking at about the finest I have gotten yet, anyway. My wife and I purchased a painting from a friend of ours in the late Fall. Our whole family had been wanting to buy one of his pieces for some time1. We finally decided on the piece titled “Joy to the Wold”.

We of course hung it up immediately but we knew it needed a frame. First of all, it would just look nice. But also, the canvas stretcher on this particular painting had a small warp in it and hopefully a frame would straighten that out. I decided to use Michael Alm’s approach to a “float” mount frame. This gives the appearance of the artwork floating freely within the frame border. It also has the added benefit of using a “strainer”, which is sort of a frame-within-the-frame. This would hopefully give some added strength in order to remove the warping of the stretcher. Hopefully…
Also, this painting is 40″ x 30″, which is by far the largest frame I’ve ever tried to make. And honestly, I haven’t made very many. But Michael Alm made it seem pretty straight-forward so I figured I’d just jump in. First, I needed some lumber. I found a really nice 4/4 (read as “four quarters”, or an inch thick) piece of walnut at the local Woodcraft that would be plenty of wood. I’ve also never made anything out of walnut before and was anxious to try it.

The first thing I needed to do was to mill down the wood as it was essentially just rough cut (and had a live edge). While I do have a planar now, I don’t have a jointer. So I splurged on a nice sprial cut, flush trim router bit from Bits & Bits. This bit cost more than the lumber! But it should pretty much last a lifetime. I was able to offset one side of the router fence and the bit functioned as a perfect jointer in my router table. After that I used the planar to mill down the wood. Honestly, I should have cut it up some before hand, as probably a solid 1/3 of the wood ended up in my dust collection. But it was very flat, square, and even. I then just ripped it into 2 3/4″ strips on the table saw and the cut it to rough lengths on the miter saw. The walnut did have a few wormholes which I filled with black CA glue.
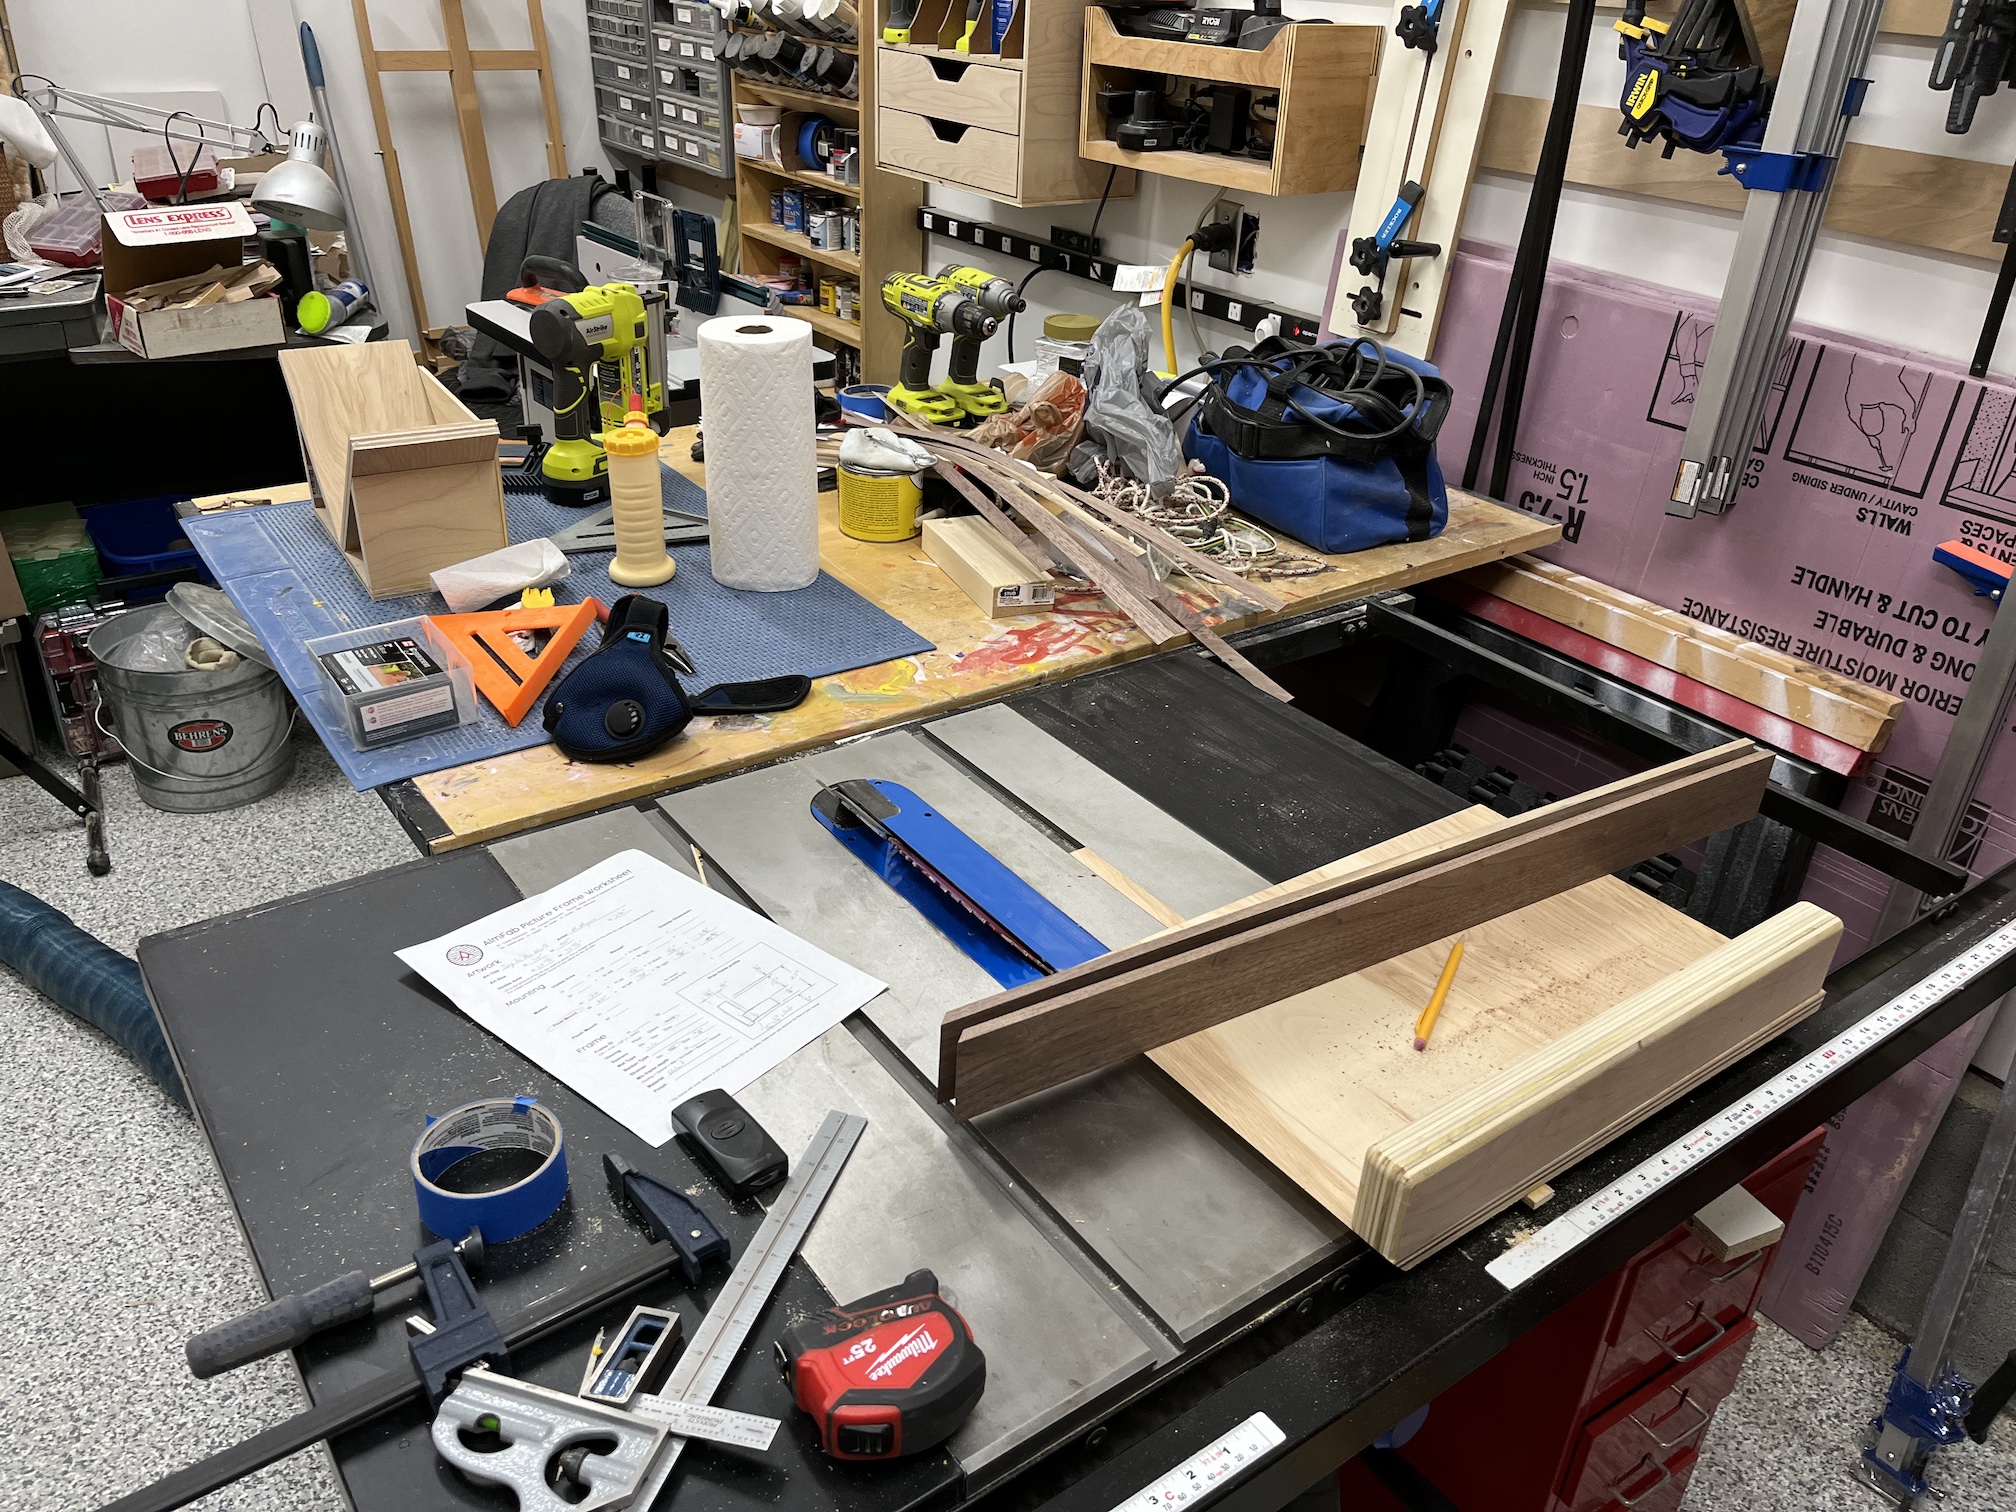
I decided to make two new jigs for this project, both based on Michael Alm’s method. The first was a 45° cut sled for the table saw. Why use this when I have a miter saw that can cut angles? Well, it’s honestly more precise and repeatable. It’s also far easier to slow approach the final length of each frame side. Lastly, cutting miters on a thin, flat piece is really just a pain on my miter saw. Anyway, the second jig was Michael Alm’s spline jig. I actually went ahead and purchased his plan set, mostly just to pay him back something for all the information I gained from his videos! But it did make adding splines to the corners drop-dead simple.
What’s a spline? Well, when you try to glue up a 1/2″ thick piece of wood at a 45°, it’s not a very strong joint. Especially not strong enough for a frame this size. A spline is a small sliver of wood that is glued into a cut across that joint. A pair of those at each corner greatly increases the strength of the joint. Those slivers of wood were just sanded down pieces of leftover walnut. I know some woodworkers like to use different species of wood to create contrasting colors, but I wanted these to be barely noticeable.

After adding the splines and gluing up the outer frame, I made the stretcher out of some 3/4″ plywood scrap. I also had to make a third jig (though this one really simple) in order to drill some pocket holes to connect the two frames (stretcher inside the outer frame). Pro-tip: if you’re going use this method, make sure to drill those holes before you start assembling the stretcher frame. That was really awkward to hold on my drill press. I used some water-based “onyx” stain from General Finishes for the stretcher. Painting it dark or black basically makes it disappear within the shadow of the art/outer frame.

I used some older Varathane Classic wood stain on the walnut. The color was “special walnut” which was the favorite of several stain samples we tried. I really don’t even recall when I bought that stain, but it worked like a charm and is really a beautiful color. I didn’t do any protective coat or other finishing, as this is a frame and not likely to get handled much.
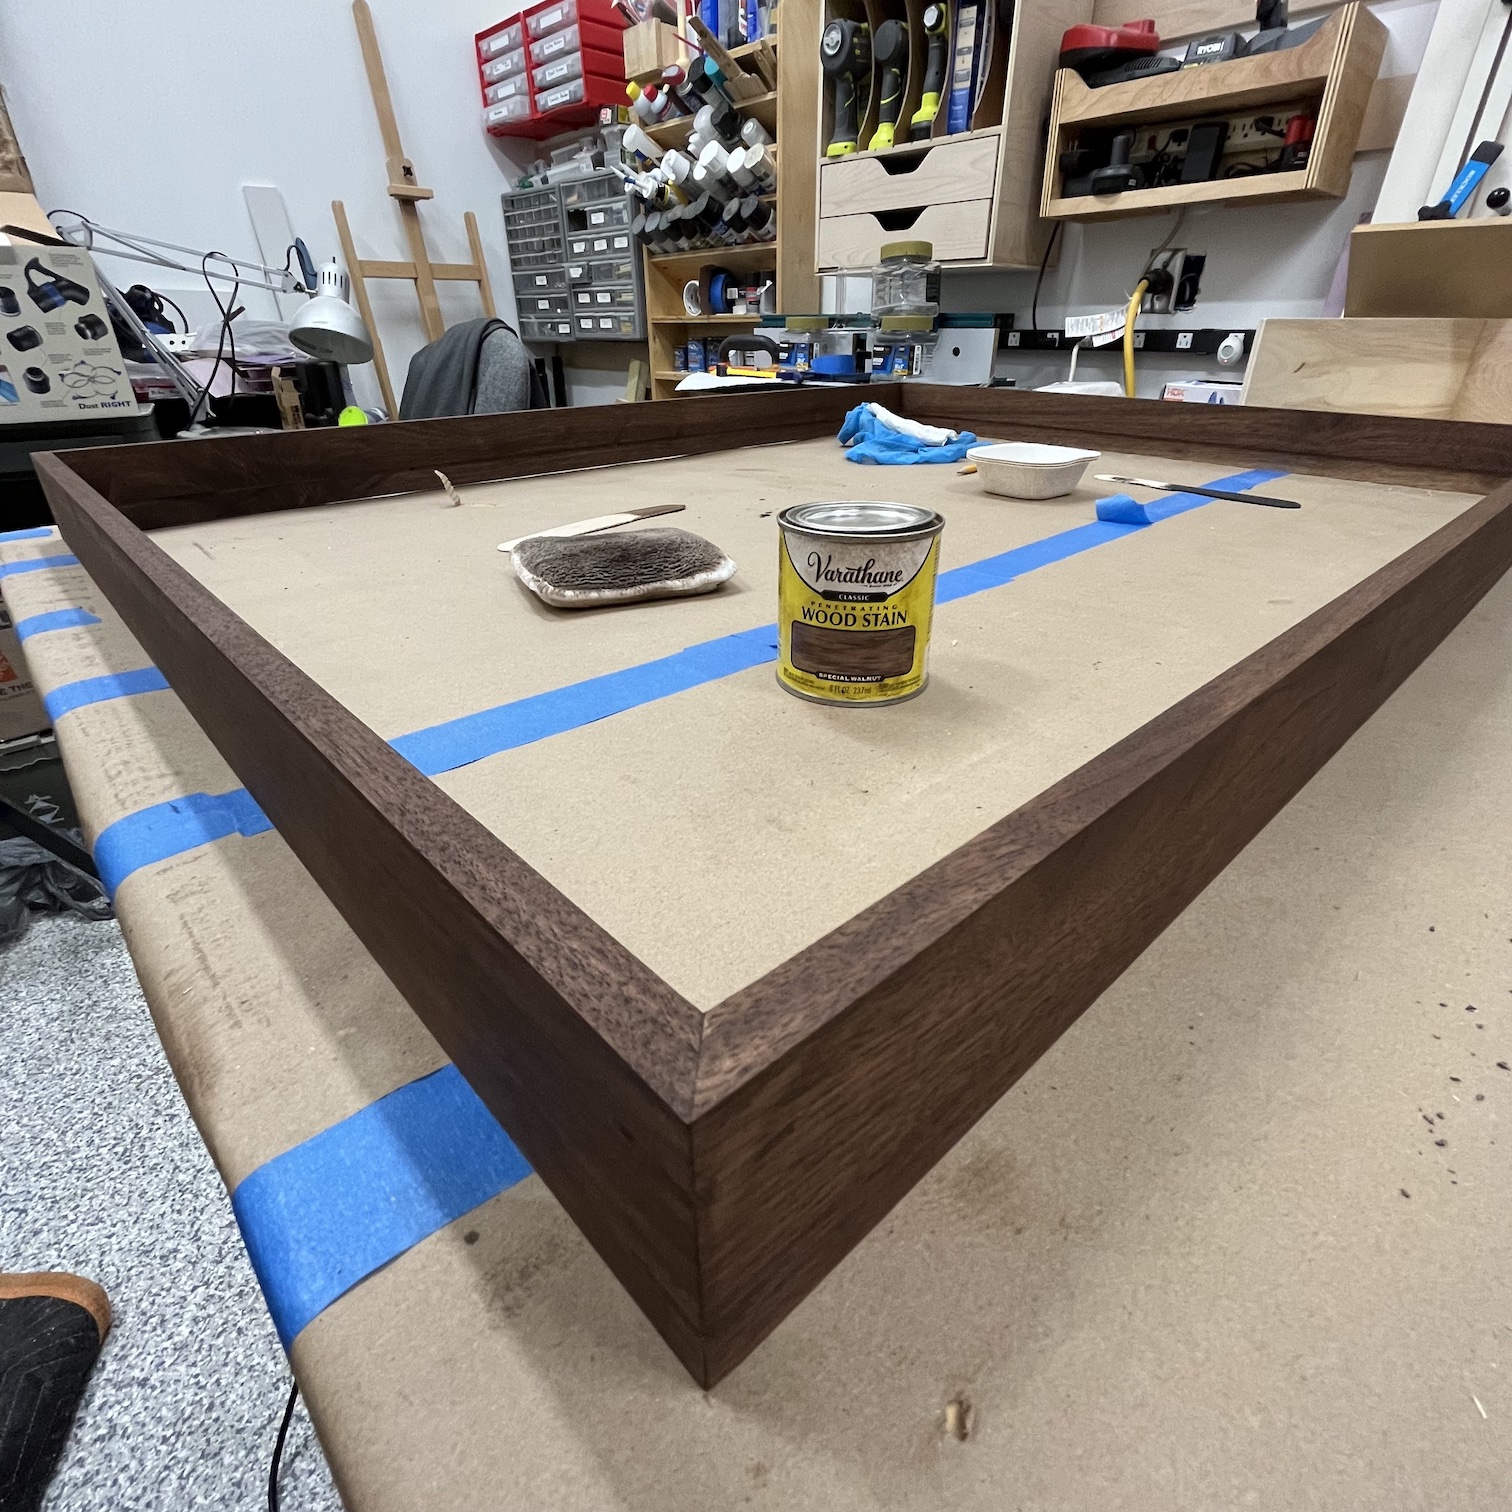
I have to say, I’m really proud of how this turned out. The frame didn’t fully take out the warp of the artwork, but it is an improvement. But the frame really adds just enough to the piece to really make it feel special, without taking away from the art itself.

- Seriously, the kids were discussing pooling their money to buy a smaller piece a couple of years ago! [↩]