We moved to our new home back in late June. The irony of having so many projects to do at a new house is that there’s not quite as much time to write about them afterwards. And there have been a lot of projects. Mostly around storage and organizing. That means a lot of shelves need to be built.
Attic Shelves
We have non-insulated attic space off of one of the bedroom closets. While it’s not awesome having to carry loads and loads through our son’s bedroom, it’s certainly a lot more convenient than the attic over our old separate garage space.

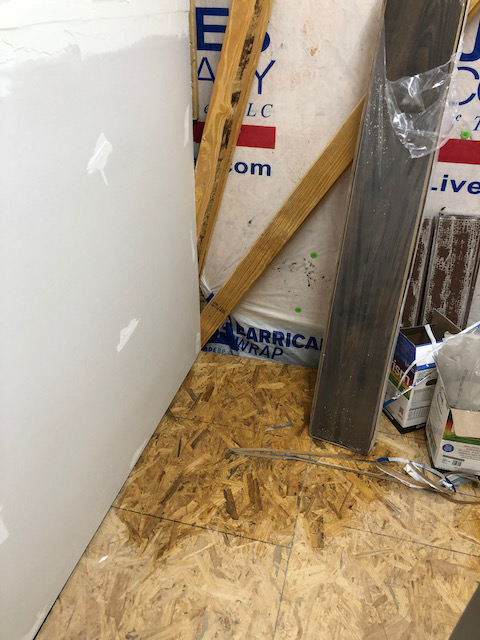
Since part of this area has no flooring (and those portions of the roof trusses aren’t designed for storage loads), I wanted to add some drywall. This would prevent us from pushing anything off the back of the shelves and into this space where it could get lost or, worse, fall through the garage ceiling onto our vehicles! I did a reasonable job of hanging the drywall and mudding the joints and screw heads. I didn’t really do much in the way of sanding, as it’s going to all be covered by the shelves (you have to pick your battles, folks). I also replaced the terrible lighting with four LED strip lights, which is more than enough for this 24′ by 6′ space.
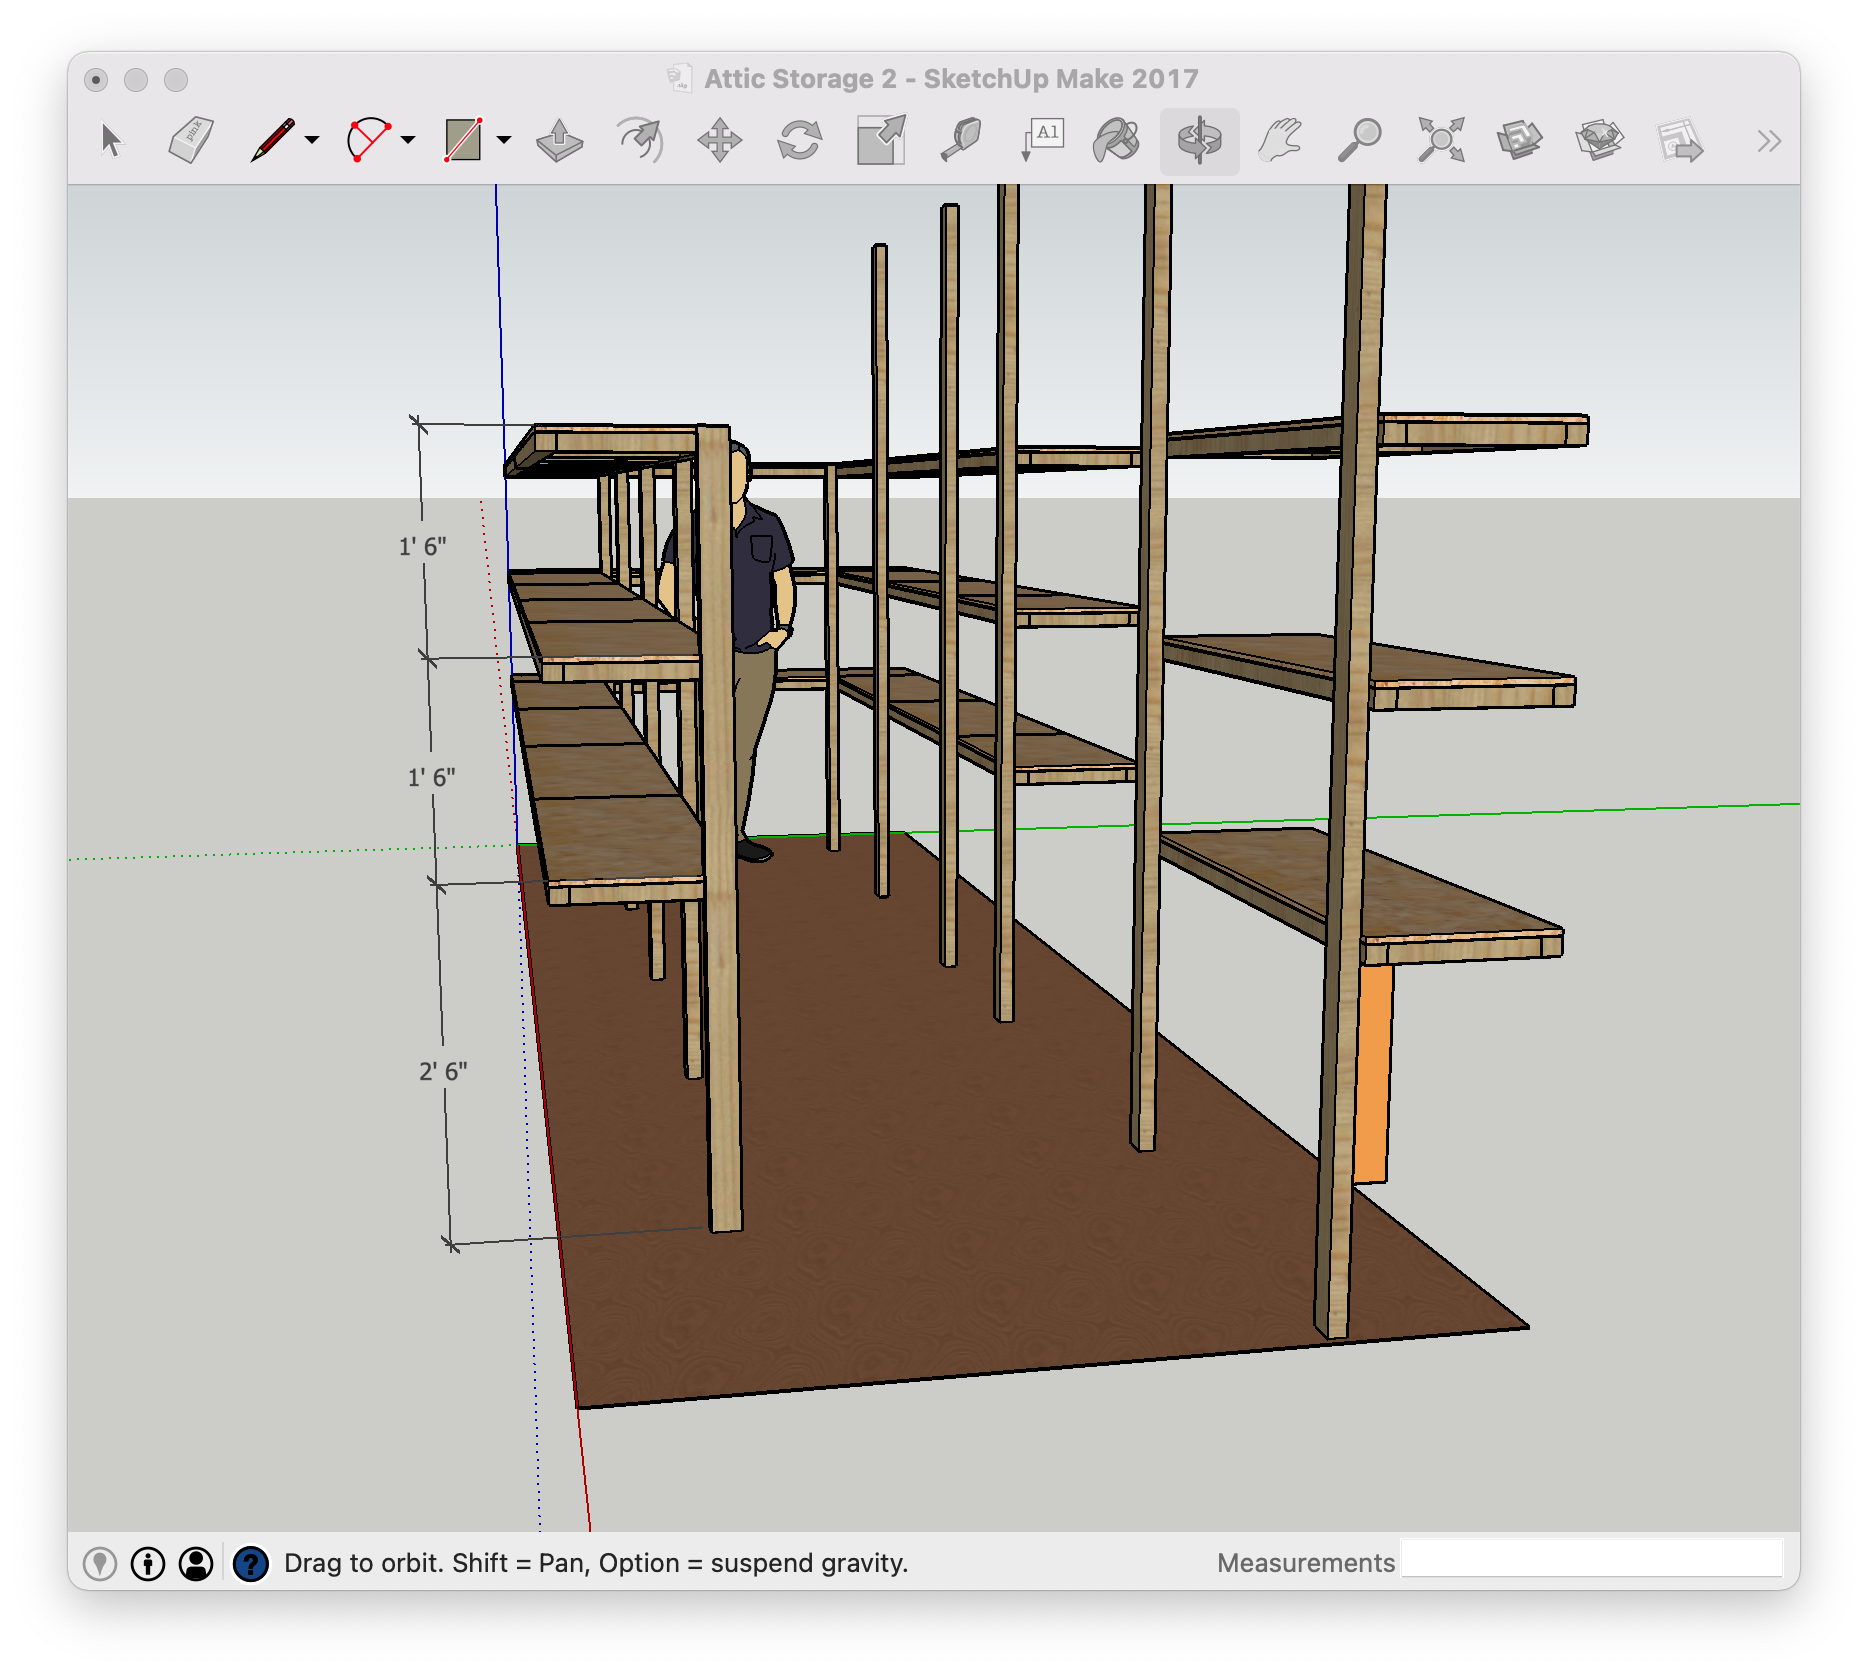
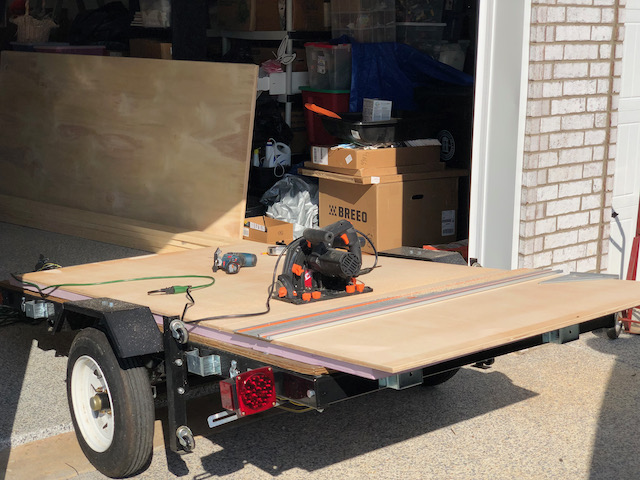
The design of the shelves is pretty simple and modular. The shelves are 15″ deep, supported by the truss members (you can think of these as wall studs really) along the back and then some 2x3 posts in the front. Those are spaced at 4′ on center. The shelves themselves consist of 2x2 frames and 1/2″ OSB. The 2x2s are ripped down from 2x4s and screwed together. The OSB was ripped into 4′ long by 15″ wide strips using a track saw.
I built all the 2x2 frames in my shop and then carried them up to the attic space. There I could use the laser level to set the bottom shelf height (at 18″ above the floor) and use 3″ screws to secure it to there truss members/studs. I then leveled the shelves front-to-back and secured them with the 2x3 front posts. Lastly, I placed the OSB (smooth side up, which is really upside-down for OSB) down. I screwed it down to the frames every 24″ or so using some 1–1/4″ deck screws.
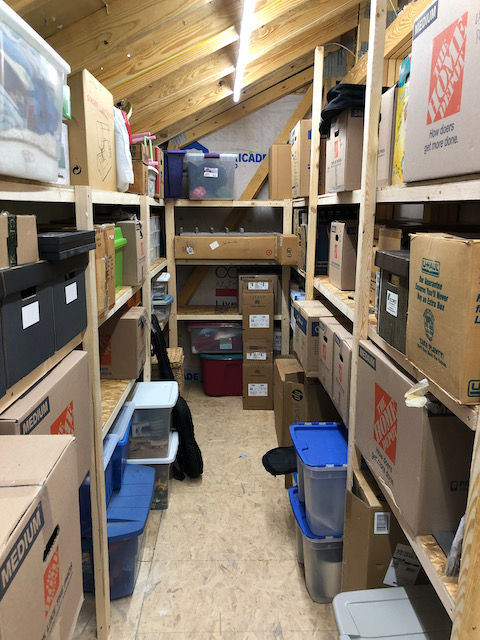
The modularity of these 2x2 frames made it very easy to vary the lengths to form the “galley” like design I had for this small area.
Lastly, my dad was visiting when we were working on some of our storage projects. He jumped right in an helped out with some of the attic shelves and it was really great getting to do this project with him!
Garage Shelves
Suffice it to say, we have a lot of stuff. We’ve gone through and gotten rid of loads and still have a lot of stuff. So, while the attic shelves were great we knew they’d be no where near enough. So I also had planned on making some “loft” style shelves for the our garage. We wanted to have everything supported from the ceiling to maximize floor (aka, car) space.
While there are some metal frame kits available, I really liked the method that Jay Bates and Johnny Brooke used for their garages. So I adapted it to our garage. Basically, these are 2x2 ledges along a wall and ceiling, with 2x4 hangers to support plywood shelves. These shelves are about 30″ deep, again with supports (in this case, the hangers) every 4′. The hangers are glued and screwed in place for added stiffness. The shelves themselves are 1/2″ sanded poplar plywood from the home center.
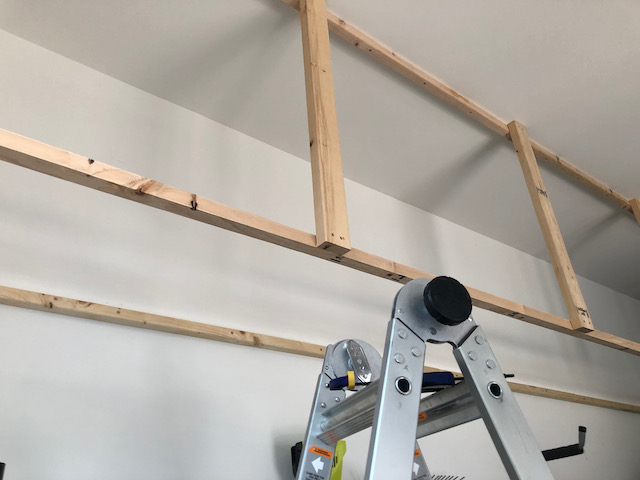
Garage storage framing from ripped 2x2s and 2x4 hangers 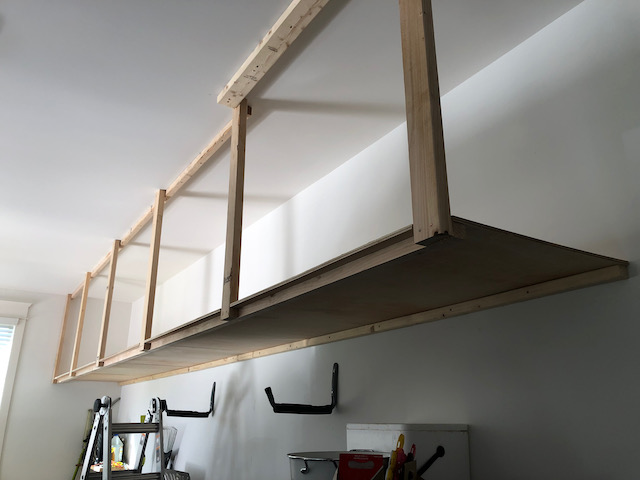
The ledger had to be adjusted to accommodate the change in ceiling framing.
These go up relatively fast once all the dimensioning is in place. Locating the wall studs and ceiling joists is critical here, though. Our garage ceiling actually has a framing change so I had to accommodate for that. Basically, this amounted to switching the 2x2 ceiling ledge to the opposite side of the hanger. I ended up still missing the ceiling joist so I swapped it out for a 2x4 to make up the extra inch or so. It’s not very pretty, but what is is solid. I made the hangers and ledge at a height so that I could easily stack two large bins. With 32 linear feet of 30″ shelves so far, we have a ton of storage out here now.
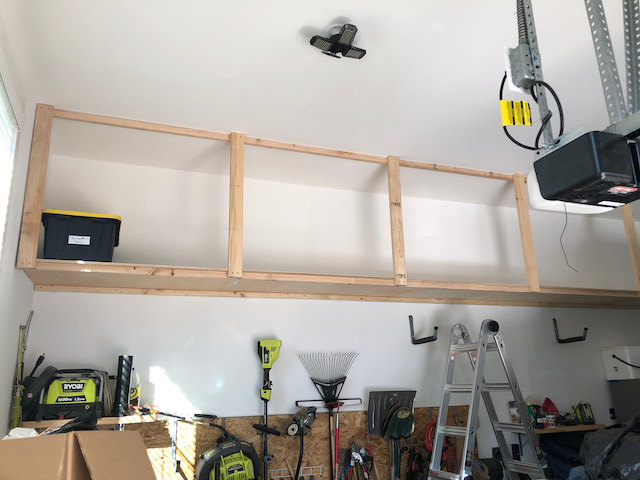
You can get a sense of the height of the shelves here. 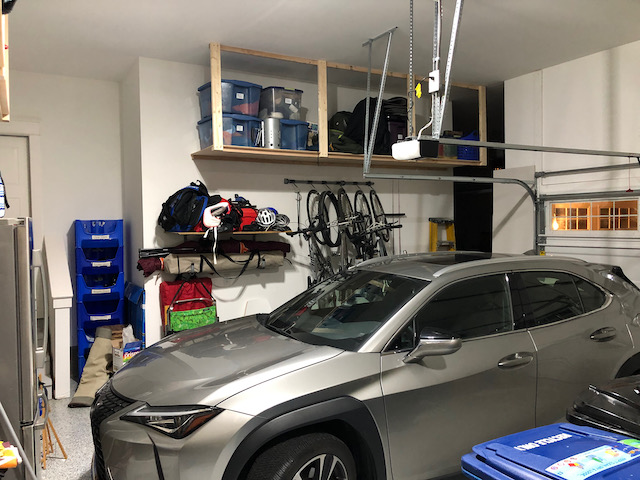
Garage outdoor gear storage
Still More to Go
The reality is that we’re still not done. Most of what we have left to sort through are boxes of books. Some we’ll keep and put on bookshelves inside but a lot of them are out-of-date reference books or even technical books from college that we just no longer need.
I also want to add some of the garage loft storage over the shop area garage door. This will be for storing painting, tiling, drywall, etc. supplies and tools that we need less often. It’s easy to pull them down with a ladder but there’s just no need for these to take up floor or shelf space in the shop or garage area.