This is a post that has been a very long time in the making. I started this project back in October of 2018. GuitarPCB had a sale and it looked like their Sabotage Drive would be an interesting challenge. There were six (!) transistors in this circuit. But I wanted to make this a really fun project so I designed some custom artwork as well, all themed around Black Sabbath — the inspiration of this circuit’s sound. This circuit further seems to be inspired by Catalinbread’s Sabbra Cadabra pedal, another pre-amp in a box effects that tries to capture Tony Iommi’s sound of a Dallas Rangemaster treble boost pushing a Laney Supergroup head1. Or, put it another way, the sound of doom metal!
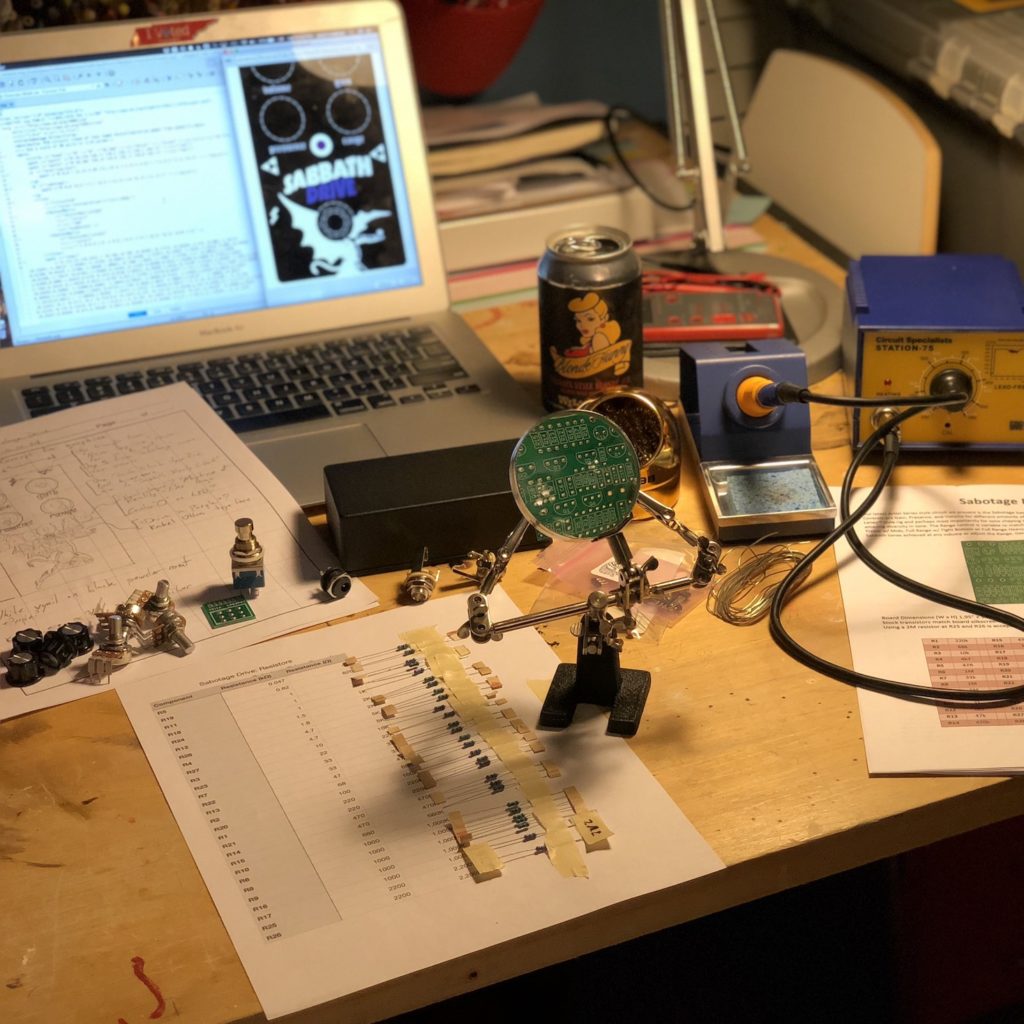
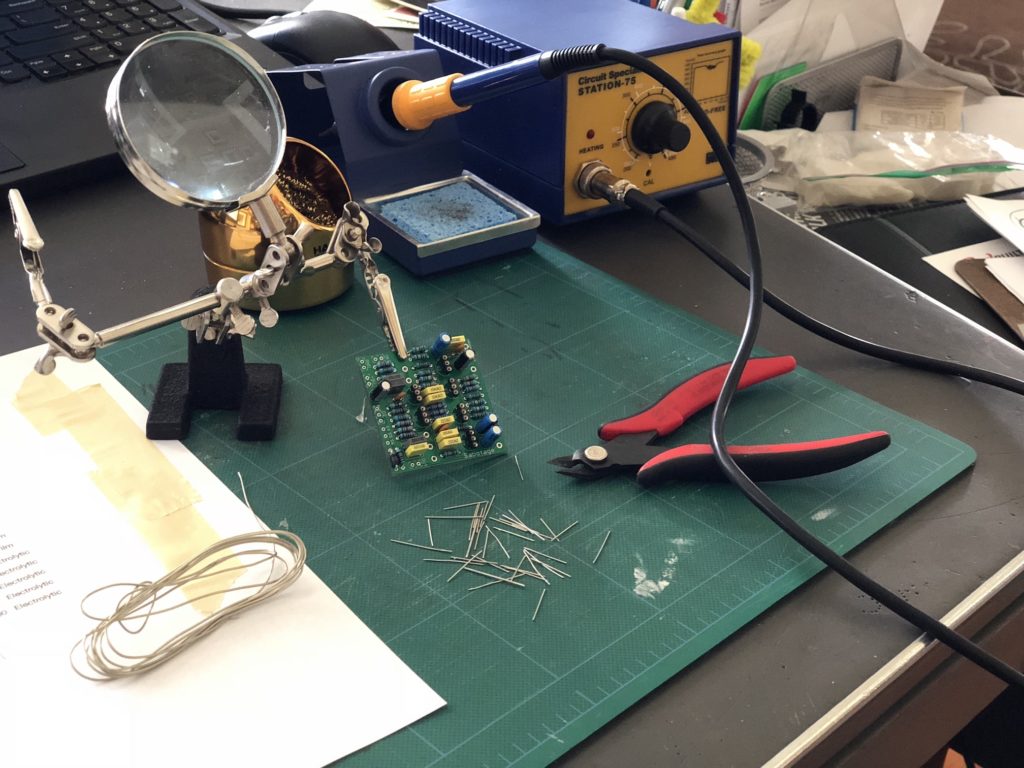
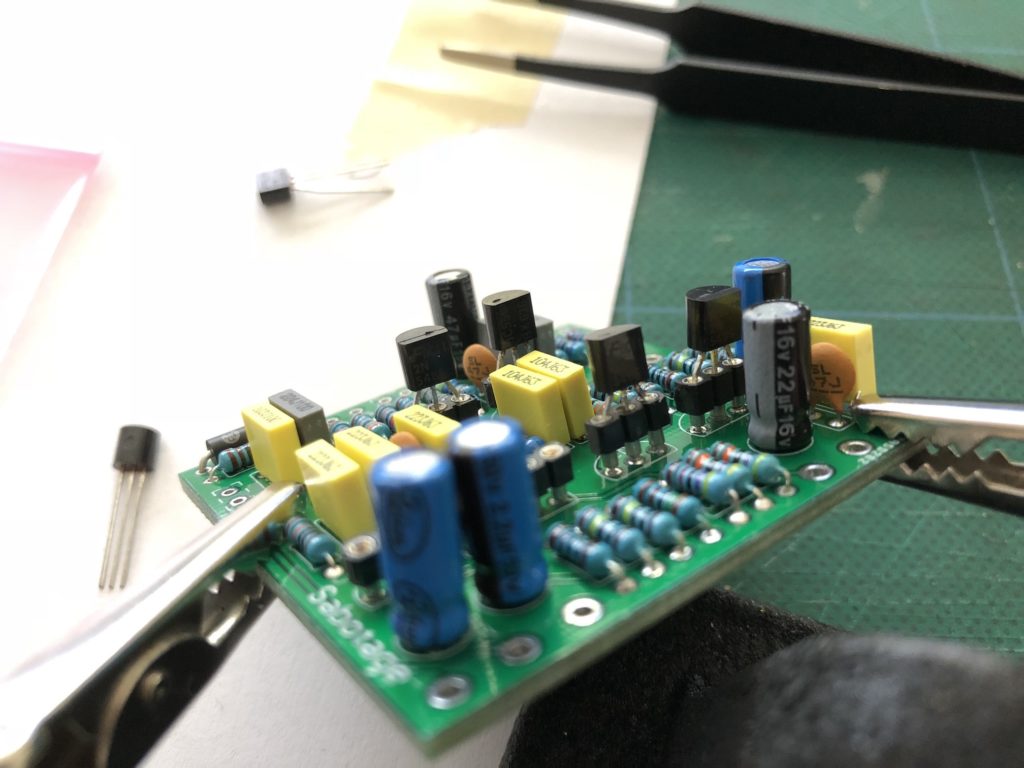
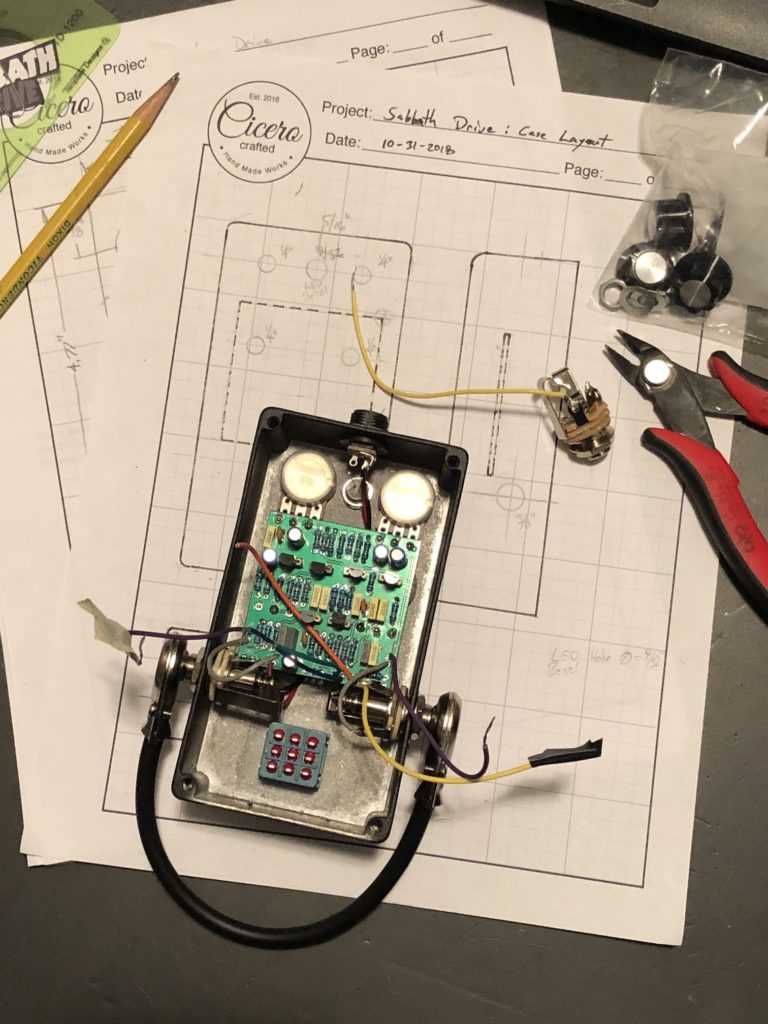
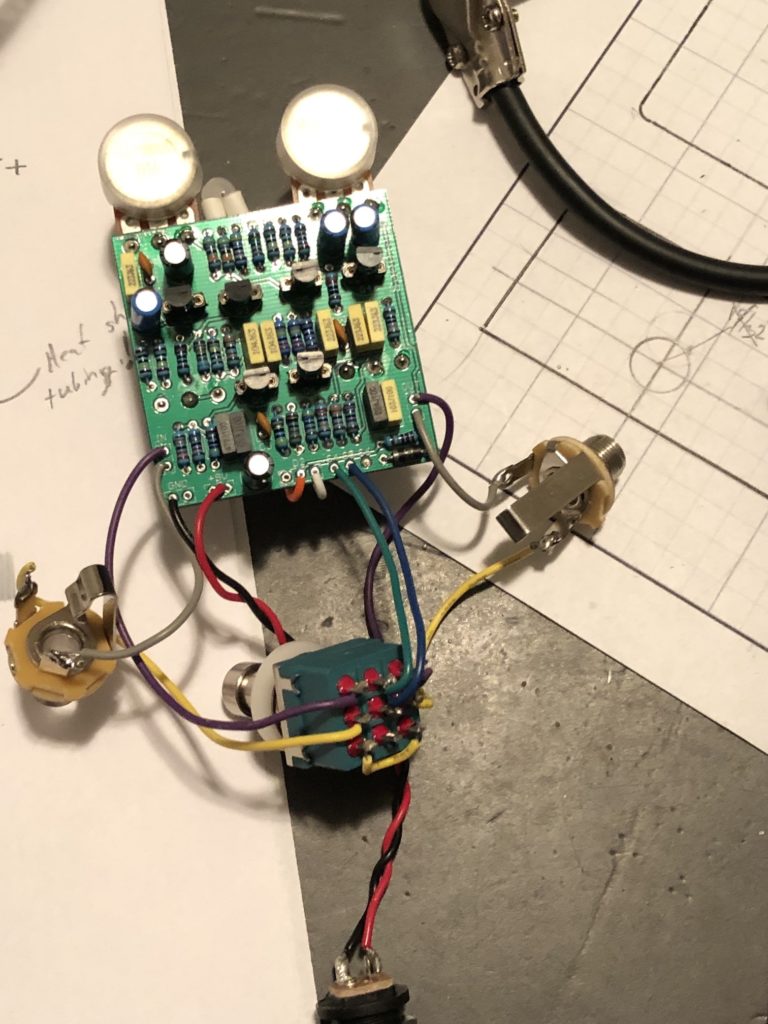
I did some layout in an SVG file for the graphics, which you can see above. This is also largely where I did the drill hole patterns for the enclosure, as those go hand-in-hand. My graphics incorporated some of the Sabbath album covers. I was fairly proud of the design, if not the actual implementation. I then got to soldering the circuit components. Barry Steindel of GuitarPCB did a great job designing this for a relatively complex build, it is a very clean layout.

I think I’ve mentioned this before, but I am in the habit of taping out all the components to a parts sheet with labels that correspond to the PCB silk screen labels. This wouldn’t scale up to a large production, but for one-at-a-time builds, it really takes the stress out of trying to find the right component for each step.
Once the components were in place, it was time to finalize the enclosure layout. The relative placement of the pots/knobs are fixed since they are soldered directly to the PCB. But the placement of everything else is dependent on getting it all to fit. I would have loved top-mounted jacks as you can see in the original sketch below, but that wasn’t going to happen with this PCB layout (in the size of enclosure I chose, anyway). I needed to forgo that in order to squeeze everything in place. Regardless, no 9v battery in here! I don’t use ’em anyway.
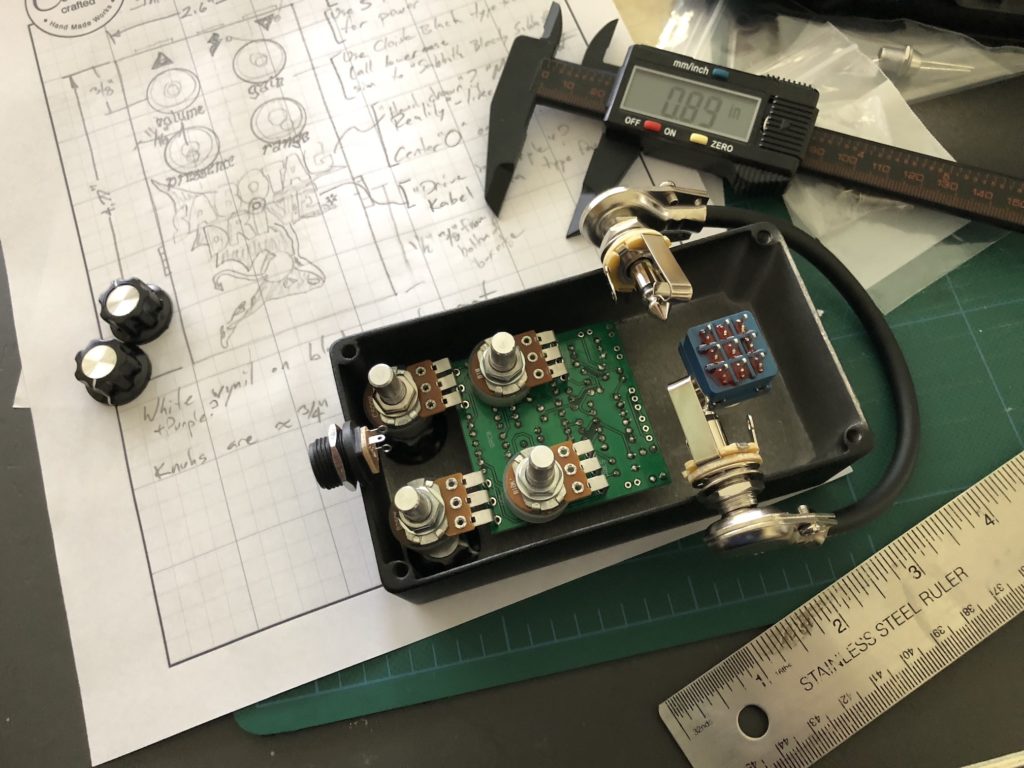
When it comes to drilling the enclosure, I use a step bit in my drill press. Another thing I’ve probably mentioned: I have a small medicine syringe with machine cutting fluid. That way I can use my center punch to mark the point on my template and the put 1–2 drops of cutting fluid right at that spot.
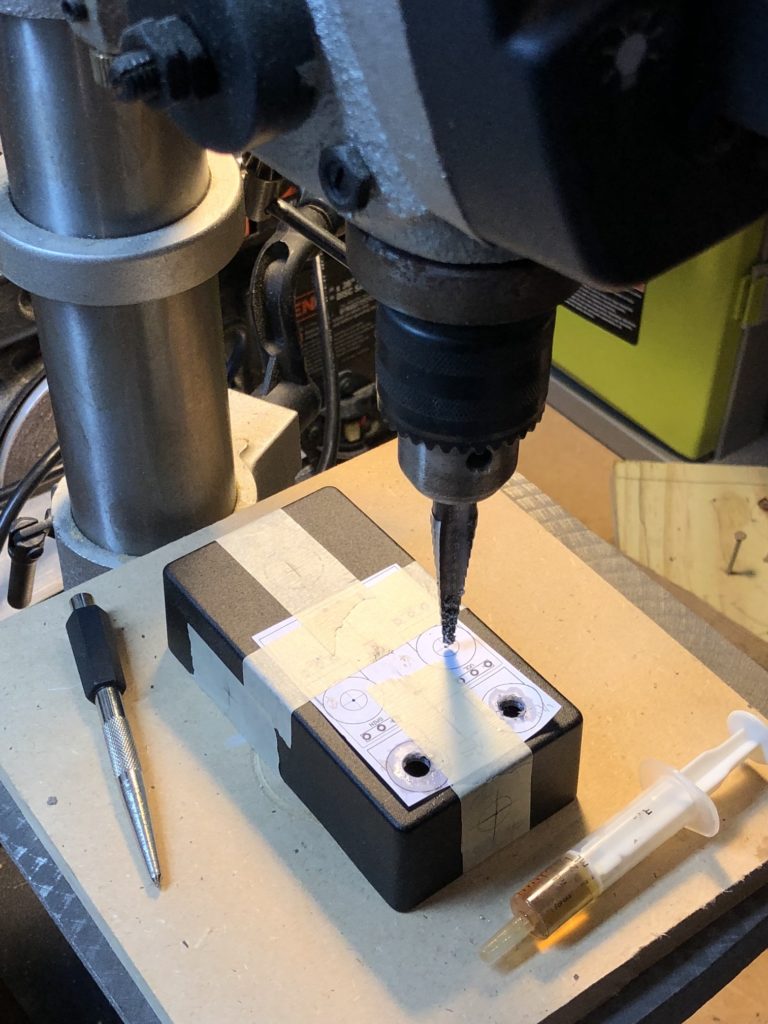
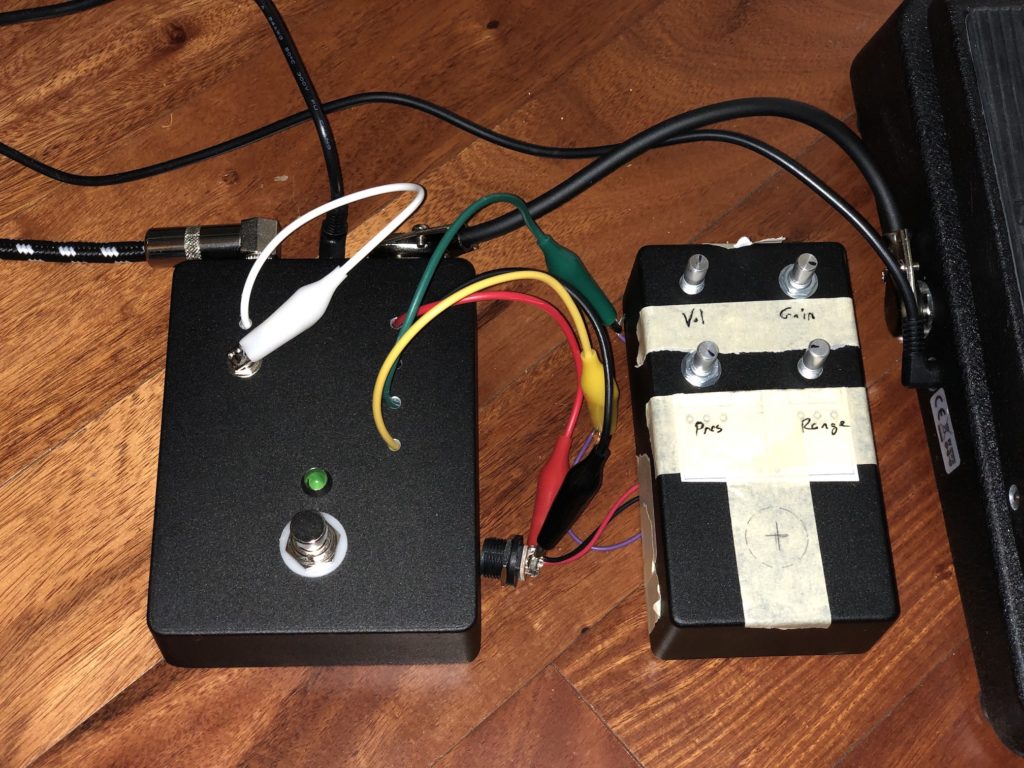
As you can see below, I actually tested the circuit before I even completed drilling all the layout holes. I drilled the holes for the pots to get those mounted to the PCB in the correct orientation. I think wired up some leads for signal in/out, the 9v power, and ground to hook up to my testing rig.
Then it was time to finish drilling the holes and wiring up the off board switch, jacks, and LED.
It was a bit of a tight fit into the enclosure, but part of that was my desire to place the LED near the top of the pedal I really don’t like LEDs right by the footswitch, where the get covered up by your foot! Sure, they’re a lot easier to put there, but they don’t make it easy to tell you’ve properly engaged the effect.
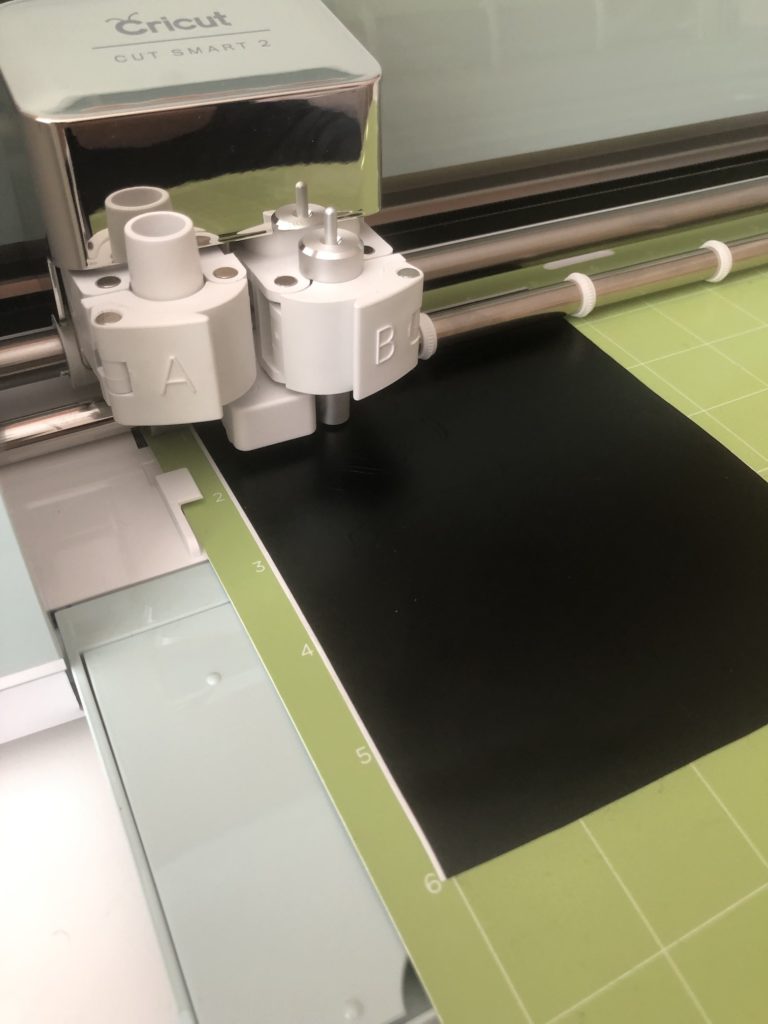
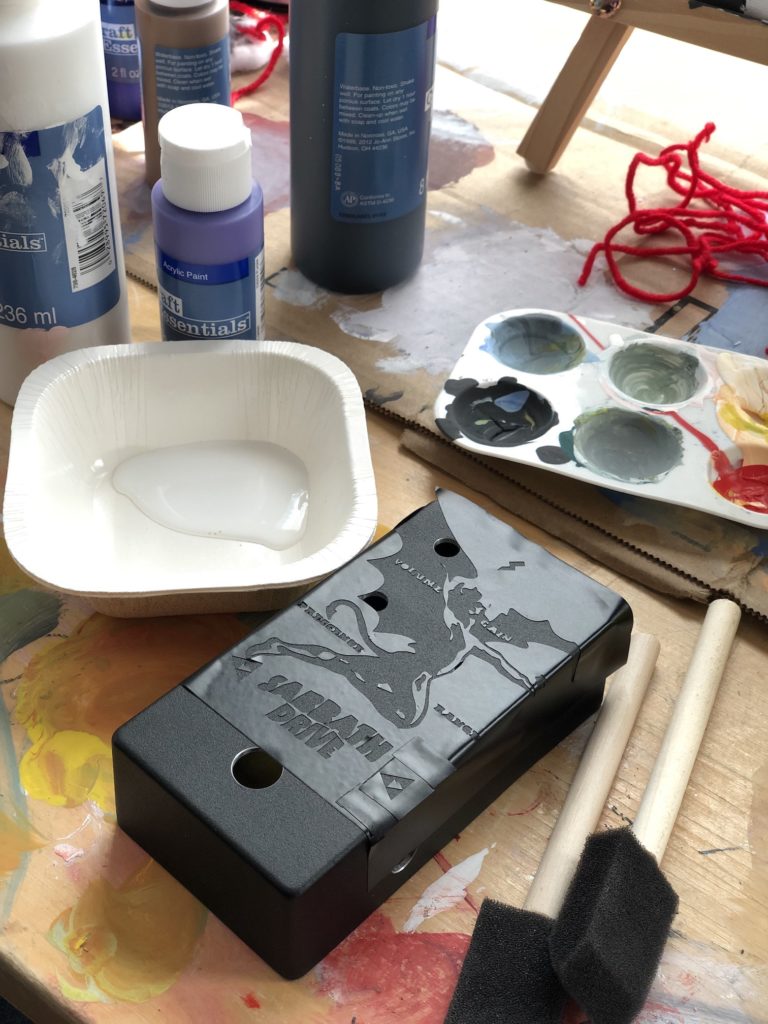
I tried using our vinyl cutting machine to create painting a painting template from my SVG file. My first mistake was using some cheap vinyl which didn’t stick to the powder-coated surface well.
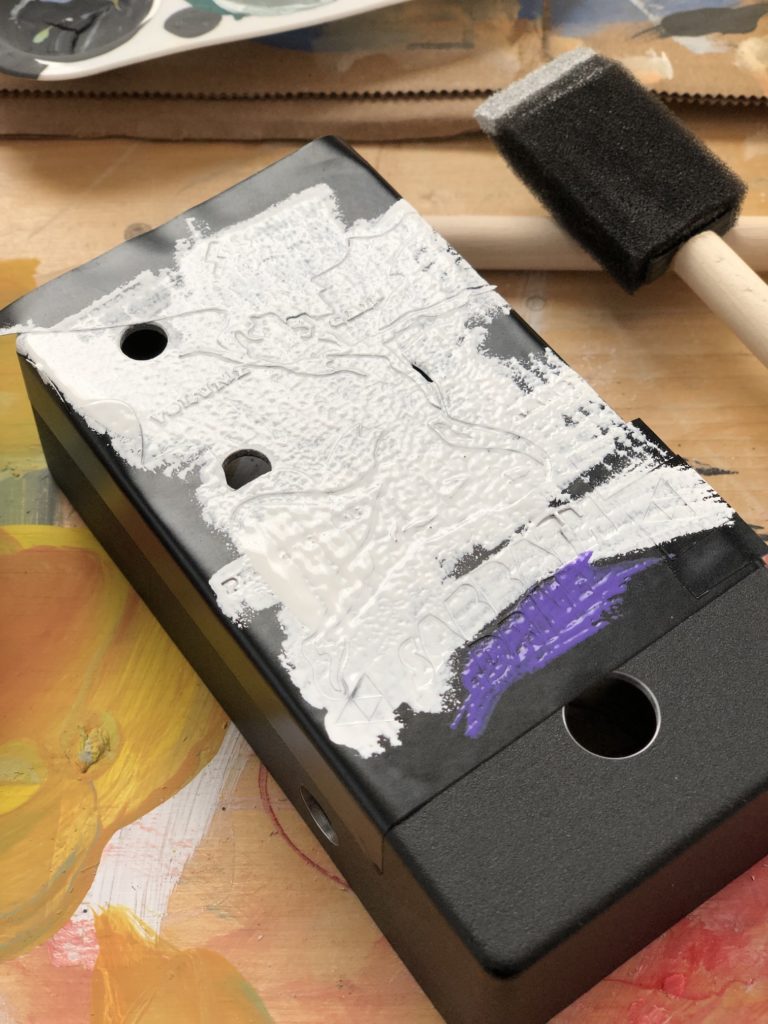
Then I used acrylic paint which bled under that template. Also, the tiny lettering details were just about beyond the scale was which the Cricut could successfully cut this vinyl. The end result looked about like I’d just hand-painted the whole thing. I wasn’t at all happy with the paint job, but knowing I wasn’t likely to improve on it, I went ahead and sealed it with some spray clear coat.
So I finished all this December of 2018. I never posted about it all last year though because I really wasn’t able to get a good sound recording of this. My iPhone demos so far have been pretty lackluster. And this effect didn’t sound as great as I’d liked anyway because it’s really meant to run into a cranked amp. Though I used my pre-amp, passive volume control I couldn’t really push the power amp section of my tube head. Well, in the past couple of months I got a power attenuator and a pretty good mic to record some audio with. My amplifier has a “cab emulation” output, as does the power attenuator but both frankly sound pretty terrible. None of the recordings with those ever had any of the low end that the amp actually produces. But using the attenuator with the head volume cranked and the mic into my recording interface, I’m finally happy with the sound I can get recorded.
So here is the full signal chain:
- My Fender Telecaster with a Lace Sensor Deathbucker pickup in the bridge position2
- This runs through a TC Electronic P0lytune 3 (I mention this because it has a buffer — all other effects are true bypass) and then into the Sabbath Drive pedal.
- The Blackstar HT5 Metal head on the clean channel (cranked to 10) and a TC Electronic Hall of Fame 2 reverb pedal in the effects loop.
- The head runs through the Bugera PS1 power attenuator into the Blackstar 1x12” cabinet with a Celestion G‑12T speaker.
- The cabinet is mic’d with a MXR R144 ribbon mic into the Behringer UMC22 audio interface.
I use some of the EQ setting in garage band for the guitar and the overall mix. This particular recording was used with one of the “auto” drummers in Garage Band. This video is the live recording you’re hearing; just poorly sync’d to the audio. The guitar is a single track.
On the whole, I’m really pleased with the sound of this pedal. The Range and Presence controls give a really wide tonal range. I’ve cranked the distortion here (honestly, not even sure why that knob exists! Just fix it at 10!). The volume is about at noon. I shudder to think just how loud this pedal would be with that cranked.
- For the record, even though the older Sabbath records were recorded using those, it doesn’t appear Tony Iommi uses those any more. He has a signature Laney head that appears to have the treble boost “built in”. Laney also has a similar, signature pedal which claims to box all this up, but apparently Iommi doesn’t use it at all according to his site. [↩]
- Yes, I need to write an entire post on my guitar and the modifications I’ve made to it. [↩]